Category: Moving & Setup

Planning, packing, setup, and renter-friendly essentials for a smoother move.

  • Rental Move-In Checklist: Document the Condition Before You Upgrade

    Before arranging furniture or installing an upgrade, record how the rental looked when you received it. An empty-room photo is easier to interpret than a picture taken months later behind a bookcase. Your aim is a clear shared record of the original condition and any maintenance issues—not a guarantee about a future deposit decision.

    Start with the property’s own process

    Read the move-in paperwork and any inspection instructions supplied with the lease. Use the landlord’s condition form when provided, record the requested information, and follow the applicable process and deadlines. Requirements vary by location and tenancy; this checklist does not replace those rules.

    Keep the lease, condition report, key inventory, and important correspondence together. If a move-in inspection is offered, walk through the property and note problems rather than signing a form that inaccurately describes everything as satisfactory. Retain the completed report and any acknowledgment you receive.

    Use a consistent photo method

    For each room, take an overview from the entrance, a closer view of each affected area, and a detail showing a specific mark or defect. Preserve the original files and their dates. Include an ordinary point of reference so a close-up scratch can be located later. Do not edit images in ways that change their meaning.

    Name a folder for the property and move-in date, then group photographs by room. A short note such as Kitchen—chip on front counter edge is more useful than a folder of unexplained close-ups. Back up the original files somewhere you can still access if your phone is replaced.

    Room-by-room checks

    AreaRecordReport if present
    Doors and windowsExisting marks, handles, locks, screens, and supplied blindsBroken locks, sticking openings, or damaged glass
    Walls, ceilings, and floorsPaint condition, holes, stains, chips, and floor wearDampness, active leaks, or significant damage
    Kitchen and bathroomCountertops, cabinet interiors, fixtures, and supplied appliancesVisible leaks, damaged fittings, or equipment faults
    Storage and supplied furnishingsShelves, closet rods, hardware, and an item inventoryLoose fittings or damaged furniture
    Safety and accessSupplied alarms and clear access routesMissing or faulty safety equipment and obstructed exits

    Use only normal controls when checking appliances and fixtures. Do not disassemble equipment, open electrical panels, or attempt repairs to investigate a problem. Follow alarm manufacturers’ instructions for routine testing where appropriate. Treat an immediate hazard as an immediate problem; the condition report is not a substitute for getting help.

    Send a specific written maintenance list

    Describe the room, the exact issue, when you observed it, and the relevant photo filename. For example: Bathroom—water visible below the drain after normal sink use; photos Bathroom-04 and Bathroom-05. Send it through the property’s maintenance channel and retain the submission and any reply.

    Separate an existing cosmetic mark from a problem needing repair. Do not hide dampness under shelf liners or install storage around a leak. Ask the landlord to address the issue before making the affected area harder to inspect.

    Record supplied items and permissions

    List keys, remotes, parking passes, appliance accessories, and furnishings supplied with the rental. Store original hardware and bulbs that you are allowed to replace, label the room, and photograph how the items were installed. Obtain written permission where a proposed change requires it; the word removable on a package does not override a lease.

    Create an upgrades log with the installation date, product, mounting method, approval if required, and before photos. Save the removal instructions with it. This turns moving out into a repeatable checklist instead of trying to remember which curtain rod or shelf came with the property.

    Keep a small first-week kit

    • Phone or camera, charger, and a backup location for original photos.
    • Measuring tape and a notebook or simple room-by-room document.
    • Labels and a container for original removable parts.
    • The property’s inspection form and maintenance contact details.

    Once the original condition is documented and needed repairs are underway, use our Start Here guide to prioritize upgrades. Begin with the daily problem you want to solve, then choose a reversible approach that fits the property. Our 15 portable renter upgrades offers a starting shortlist.

  • 15 Renter-Friendly Upgrades You Can Take With You When You Move

    START HERE

    A practical room-by-room list of upgrades that make a rental safer, calmer, and easier to live in—without leaving your investment behind.

    Renting does not mean living with every inconvenience exactly as you found it. The best upgrades solve a daily problem, avoid permanent construction, and can move with you to the next place.

    Before you install anything: read the lease, photograph the original condition, test adhesives in a hidden area, follow weight limits, and keep every original screw or part you remove.

    Security and Entry

    1. Add a removable inside-door security device

    A portable lock or correctly fitted security bar adds a second layer while you are home. Confirm door direction, floor clearance, and emergency-release speed before relying on one.

    2. Use a renter-safe video doorbell mount

    Door-mounted and no-drill brackets can hold compatible battery doorbells without screwing into the frame. Check hallway-camera rules, neighbor privacy, and whether the mount interferes with door closing.

    3. Add battery-powered entry lighting

    Motion-activated lights can improve a dark entry, closet, or stair area. Magnetic or freestanding options are easier to remove than aggressive adhesive strips.

    Comfort and Privacy

    4. Hang curtains with tension rods or no-drill brackets

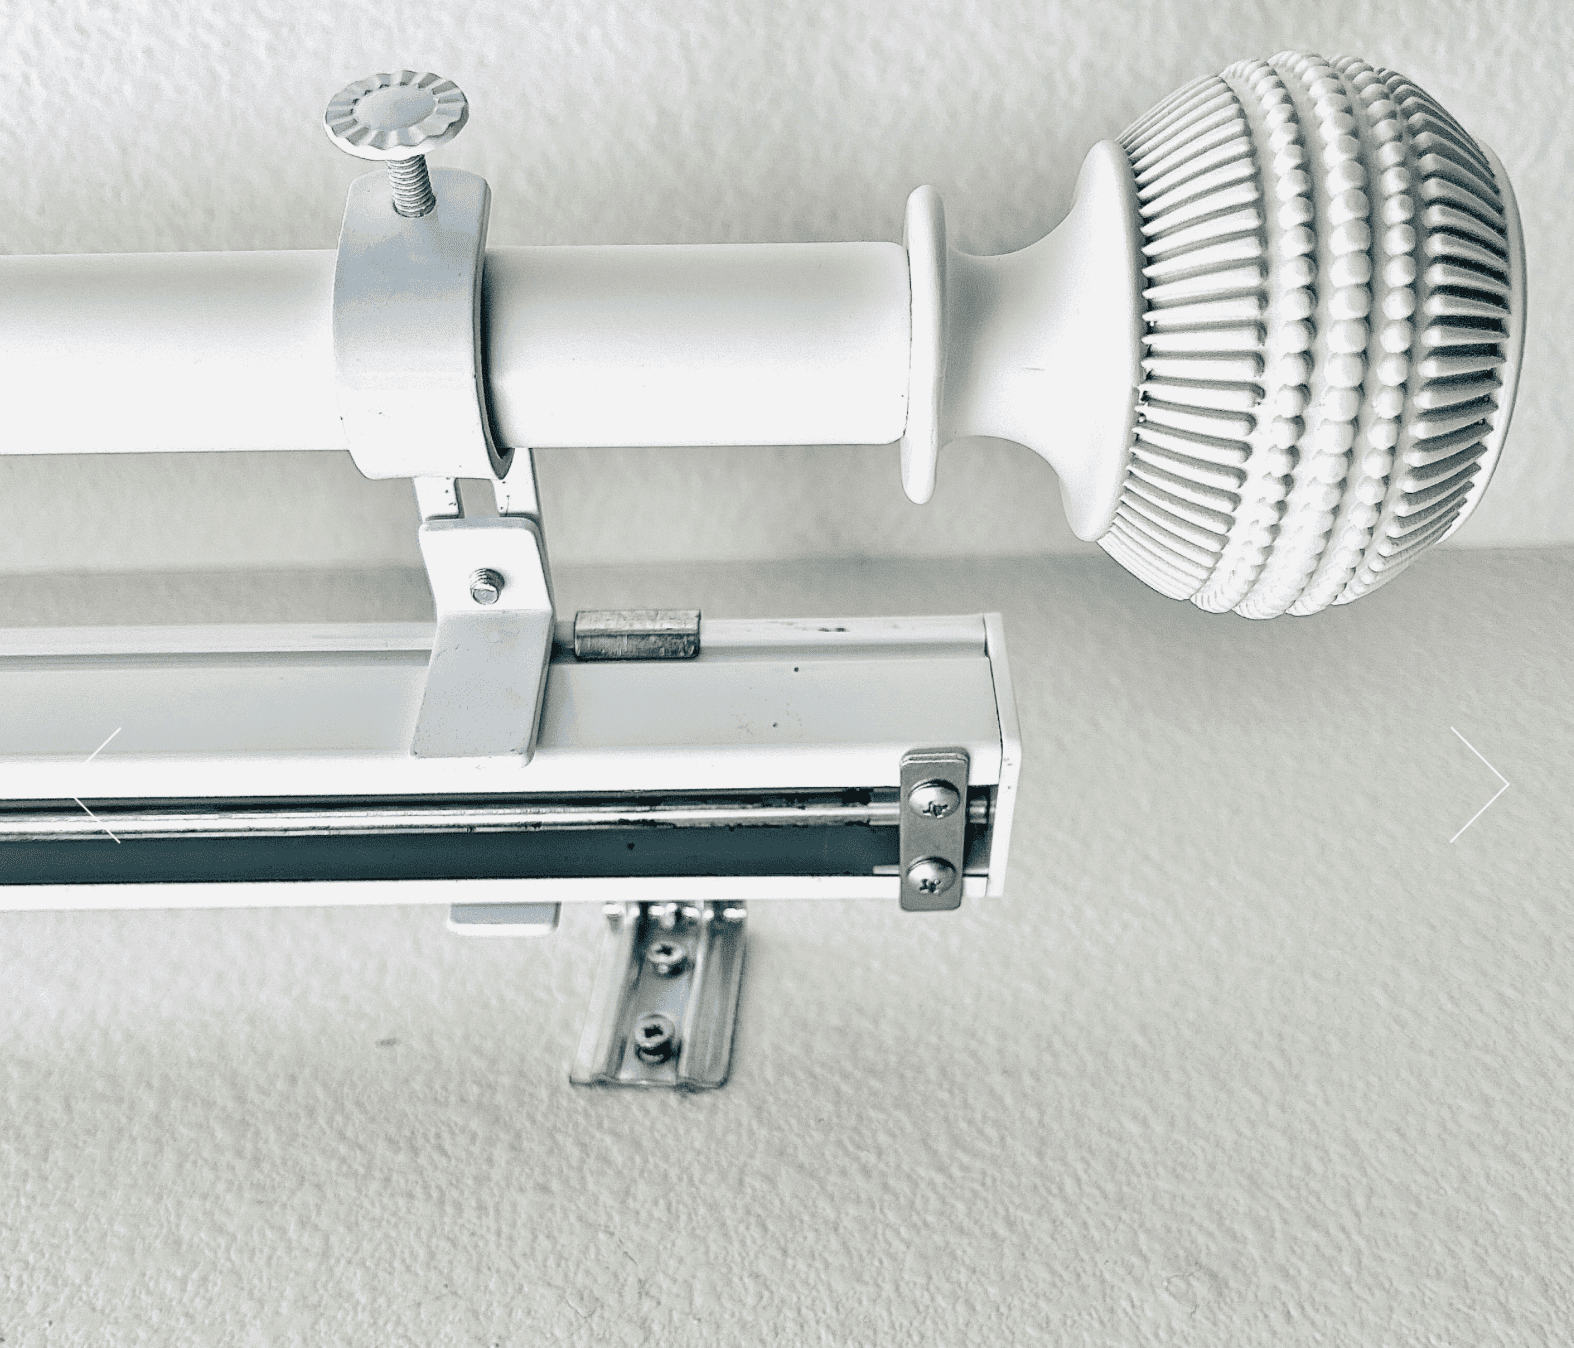
    Blackout or thermal curtains can improve sleep, glare, privacy, and temperature control. Measure the opening and make sure the mounting method can safely hold the fabric’s weight.

    5. Apply removable privacy film

    Static-cling window film adds daytime privacy without adhesive. It is especially useful for bathrooms and ground-floor windows, although nighttime privacy still depends on lighting and film type.

    6. Add rugs and washable pads for noise control

    Large rugs soften hard rooms and reduce impact noise. Use floor-safe pads—some rubber backings can react with vinyl or finished wood over time.

    7. Use a portable air purifier sized for the room

    A correctly sized purifier can help with airborne particles, smoke, and pet dander. Compare replacement-filter cost and noise at the speed you will actually use.

    Storage and Organization

    8. Put unused door space to work

    Over-the-door organizers can add pantry, cleaning, shoe, or bathroom storage. Add felt pads where metal contacts the door and confirm there is enough clearance to close it.

    9. Build upward with freestanding shelving

    Tall shelving uses vertical space without built-ins. Follow anti-tip guidance; if wall anchoring is required for safety, get landlord approval rather than skipping it.

    10. Standardize under-bed storage

    Low, lidded containers turn unused space into seasonal storage and make moving easier. Measure bed clearance and leave airflow around items that can trap moisture.

    11. Add a rolling utility cart

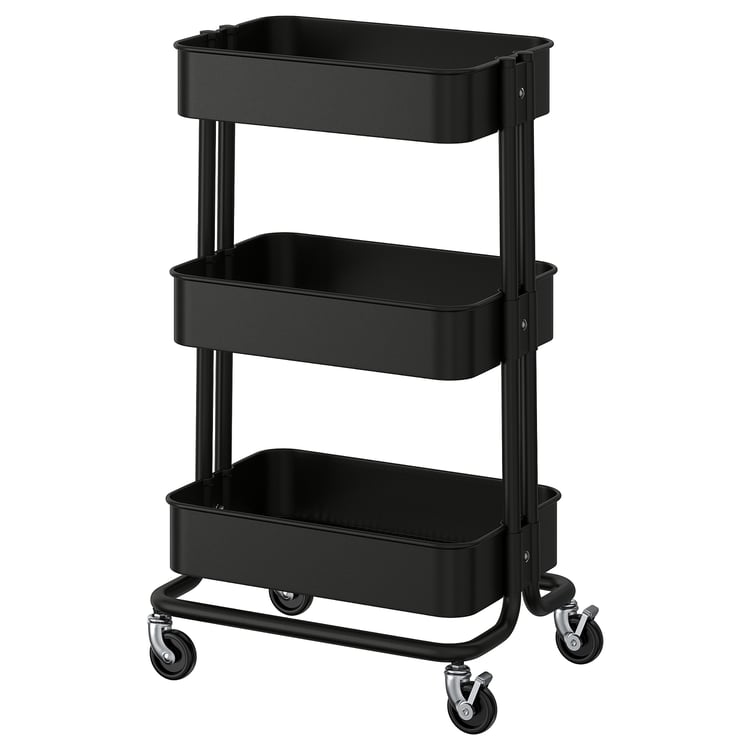
    A narrow cart can become a pantry, coffee station, bathroom shelf, craft organizer, or movable work surface—and it remains useful in a completely different floor plan.

    Technology and Daily Convenience

    12. Improve Wi-Fi placement before buying equipment

    Move the router into the open, raise it off the floor, and keep it away from metal and dense obstructions. If coverage still fails, a mesh system is usually more portable than running new cable through a rental.

    13. Add plug-in smart lighting

    Smart bulbs and plug-in lamps add schedules, dimming, and automation without replacing switches. Save the original bulbs and avoid devices that require modifying the fixture.

    14. Create charging where you actually need it

    A quality surge protector or clamped desk charging station can fix awkward outlet placement. Do not daisy-chain power strips or conceal cords where heat can build up.

    15. Use removable cable management

    Reusable ties, floor cord covers, and gently removable clips make a setup safer and easier to move. Test adhesive clips first and remove them according to the manufacturer’s directions.

    Choose Upgrades That Earn Their Space

    Before buying, ask three questions: Does this solve a problem I notice every week? Can I install and remove it safely? Will it still be useful in a different home? If all three answers are yes, it is probably a better renter upgrade than something designed only for the current floor plan.